Tested, step-by-step recipes from around the world — from quick weeknight dinners to authentic regional classics, each one cooked and verified in our own kitchen.
")
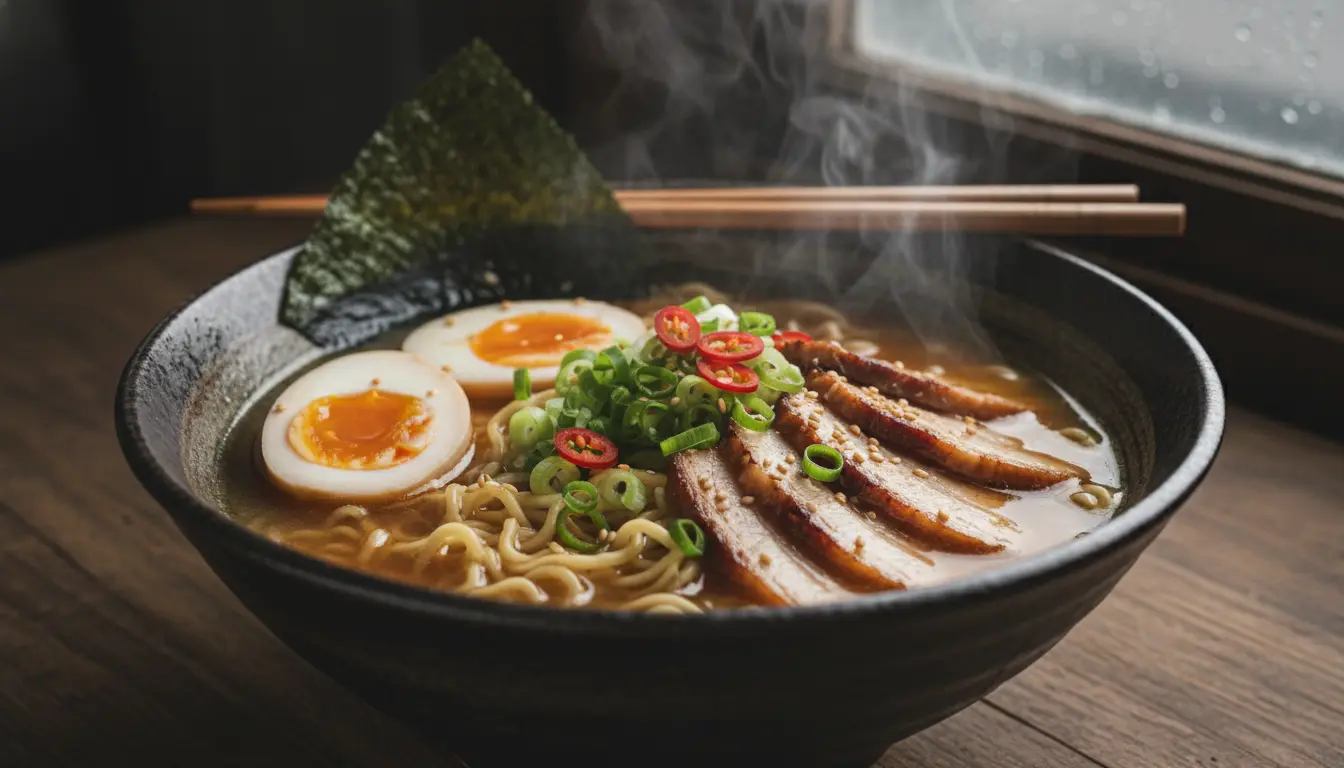
Watch how to make it
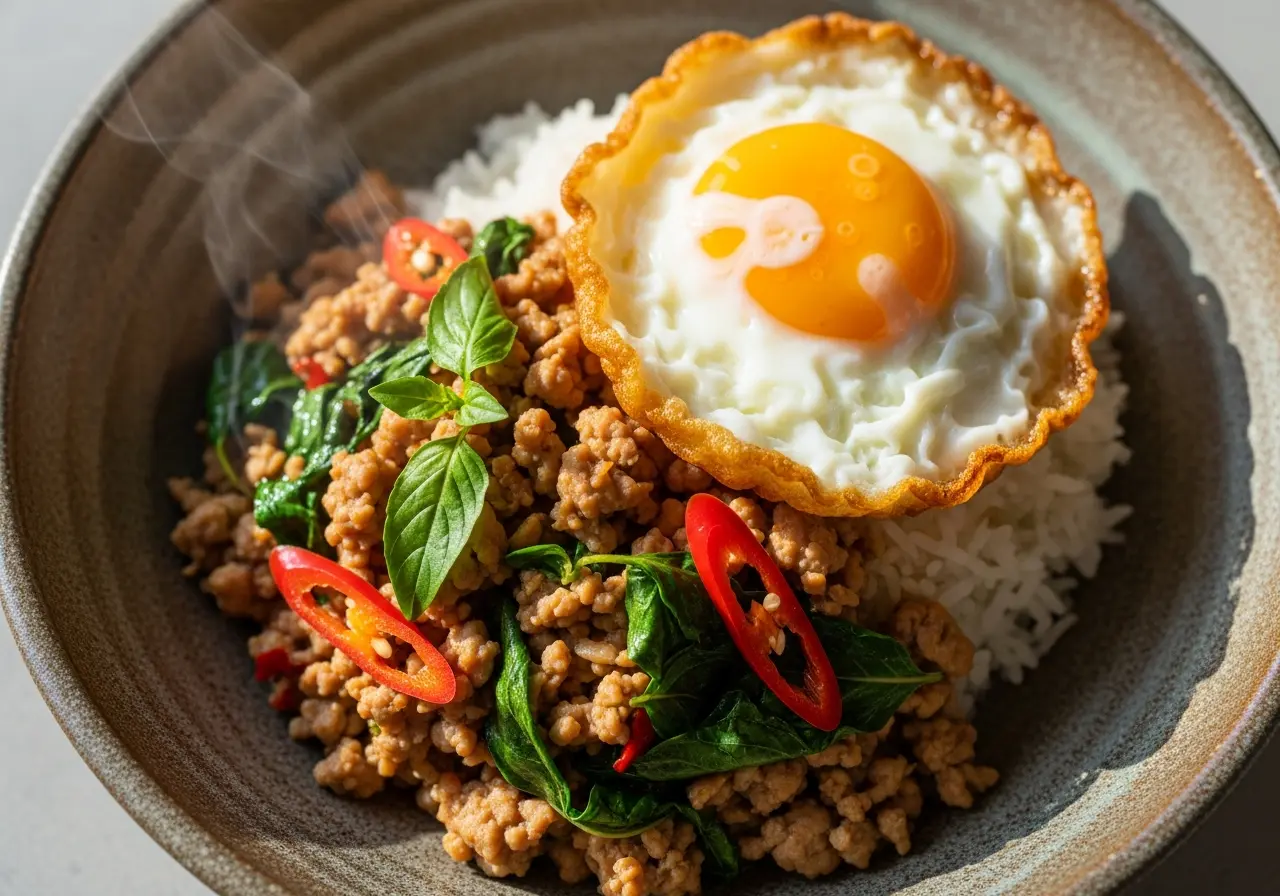
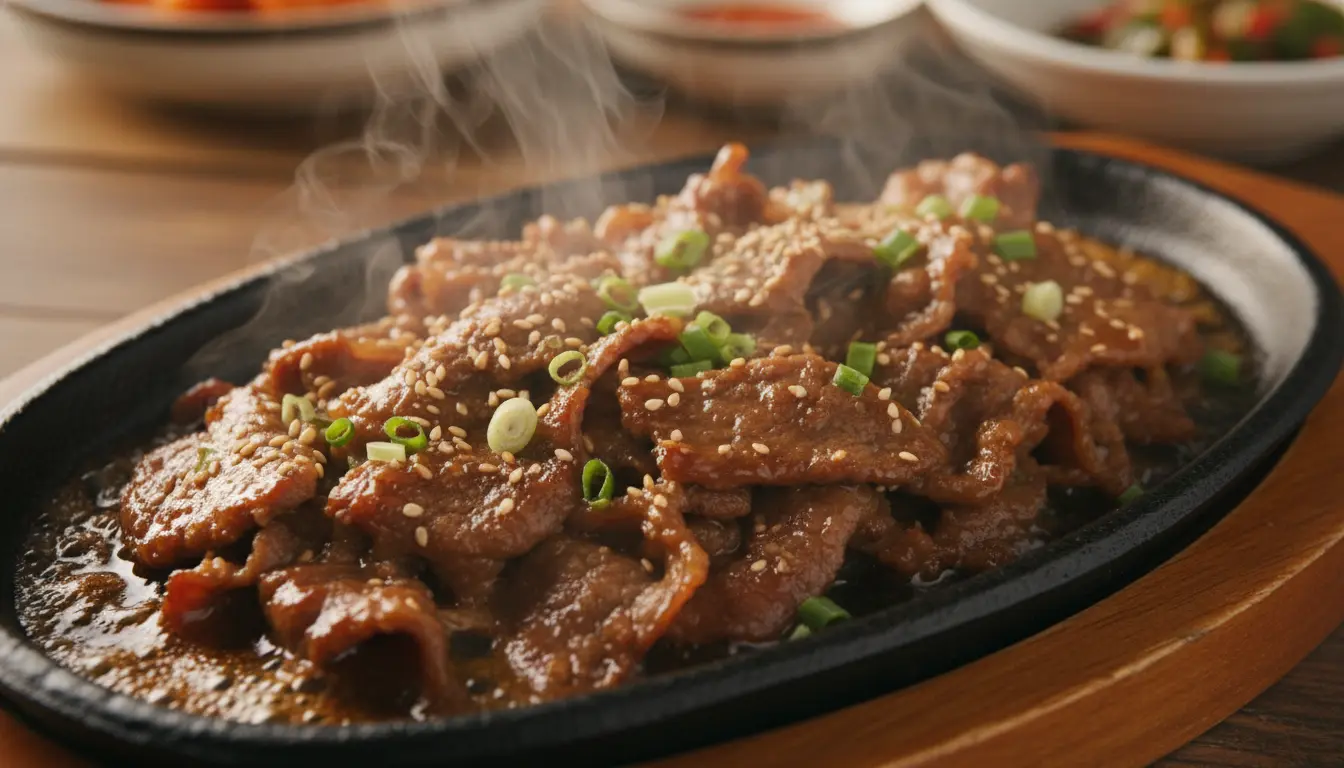
Pad krapow gai is the dish Thai people actually eat — fast, fiery, and built around the peppery hit of holy basil. Forget the sweet, saucy takeout version: the street-stall original is barely sauced, seared in a screaming-hot pan, and finished with a runny-yolk fried egg. This is our 15-minute weeknight version that still tastes like a Bangkok food cart.
Why this recipe works
- Sear, don’t stew — cook the chicken over the highest heat so it browns and stays loose instead of stewing in liquid.
- Holy basil is the soul — its clove-pepper aroma is what makes it pad krapow; Thai sweet basil is a fallback, not a substitute.
- Finish fast — fold the basil in off the heat so it wilts but keeps its punch.
Key ingredients
Minced chicken (thigh beats breast for juiciness), holy basil, garlic, Thai bird’s eye chilies, oyster sauce, light and dark soy, a pinch of sugar, and fish sauce for the savory backbone. Full amounts in the recipe card below.
Tips from our kitchen
- Pound the garlic and chili in a mortar — it releases far more aroma than mincing.
- Get the pan ripping hot and don’t crowd it, or the chicken will release water and steam.
- Fry the egg in plenty of oil so the edges go lacy and crisp — that texture is half the dish.
Frequently asked questions
What’s the difference between holy basil and Thai basil?
Holy basil (krapow) is peppery and clove-like; Thai sweet basil (horapha) is aniseed-sweet. Using sweet basil makes a tasty stir-fry, but technically a different dish. Use holy basil if you can find it.
Can I use chicken breast?
Yes, but mince or finely chop thigh meat for a juicier result. If using breast, don’t overcook it.
How spicy should it be?
Authentically quite spicy. Start with 2–4 bird’s eye chilies and adjust — the garlic and basil balance the heat.
Thai Basil Chicken (Pad Krapow Gai)
Ingredients
Method
- Pound the garlic and chilies into a rough paste in a mortar (or finely chop).
- Mix the oyster sauce, both soy sauces, fish sauce and sugar in a small bowl.
- Heat 1 tbsp oil in a wok over the highest heat. Fry the garlic-chili paste for 10 seconds until fragrant.
- Add the chicken and sear hard, breaking it up, until browned and no longer releasing water.
- Pour in the sauce and toss for 30 seconds, then kill the heat and fold through the holy basil.
- In a separate pan, fry the eggs in the remaining oil until the edges are crisp and the yolk still runs.
- Serve the chicken over jasmine rice with a fried egg on top.
Notes
No holy basil? Thai sweet basil works in a pinch. For a milder version, deseed the chilies.
Variations & substitutions
Pad Krapow Gai is wonderfully versatile, allowing you to tailor it to your pantry or preferences. While the core flavor profile is distinct, these swaps maintain the spirit of the dish.- Protein Swaps:
- Pork (Pad Krapow Moo): Ground pork is a classic alternative, offering a slightly richer flavor.
- Beef (Pad Krapow Nua): Thinly sliced sirloin or ground beef works beautifully.
- Seafood: Shrimp or squid can be used, but cook them very quickly to avoid rubberiness. Add them towards the end.
- Vegetarian/Vegan: Extra-firm tofu (pressed and crumbled or cubed), tempeh, or a mix of mushrooms (shiitake, oyster) are excellent plant-based options. Ensure you use vegetarian oyster sauce and omit fish sauce (replacing it with an equal amount of soy sauce or mushroom seasoning sauce).
- Basil Types:
- Holy Basil (Krapow): This is the authentic choice, offering a peppery, clove-like, slightly spicy aroma. If you can find it at an Asian market, it’s highly recommended.
- Thai Basil (Horapha): The most common substitute in the US, easily found in many supermarkets. It has a distinct anise or licorice-like flavor profile.
- Italian Basil: While not traditional, in a pinch, regular sweet basil can provide a fresh herbaceous note, though it lacks the characteristic Thai flavor.
- Heat Level:
- More Heat: Add more fresh Thai bird’s eye chilies, or include a dash of dried chili flakes with the garlic.
- Less Heat: Reduce the number of Thai chilies or remove the seeds for a milder kick. Bell peppers can be added for bulk without heat.
- Vegetable Additions:
- While traditionally minimal, you can add finely diced green beans, bell peppers, or baby corn for extra texture and nutrition. Add these with the chicken to ensure they cook through without overcooking the main ingredients.
- Sauce Adjustments:
- Gluten-Free: Use tamari or gluten-free soy sauce.
- Less Salty: Reduce the amount of fish sauce and soy sauce, or opt for low-sodium versions.
What to serve with it
Pad Krapow Gai is a complete meal in itself, vibrant and packed with flavor. The best accompaniments are simple, designed to complement its intensity rather than compete with it. They provide a cooling contrast, absorb the rich sauce, or add a textural element that enhances the overall experience.- Steamed Jasmine Rice: Absolutely essential. Its fragrant, fluffy texture is perfect for soaking up the spicy, savory sauce. Serve a generous scoop alongside.
- Fried Egg (Kai Dao): A classic pairing. A sunny-side-up or over-easy egg with a crispy edge and a runny yolk adds a rich, creamy element that beautifully mellows the spice when mixed into the rice and chicken.
- Cucumber Slices: Simple, refreshing slices of cool cucumber offer a crisp, hydrating counterpoint to the heat and richness of the stir-fry.
- Fresh Lime Wedges: A squeeze of fresh lime juice just before eating can brighten the flavors and add a zesty finish.
- Clear Broth Soup: A simple, light clear chicken or vegetable broth, perhaps with a sprinkle of cilantro, can be a soothing palate cleanser between bites.
Make ahead, storage & reheating
While Pad Krapow Gai is best enjoyed fresh off the wok, you can certainly prepare components ahead of time or store leftovers effectively.- Make Ahead (Prep):
- Sauce: Whisk together all sauce ingredients (fish sauce, soy sauce, oyster sauce, sugar) up to 2 days in advance and store in an airtight container in the refrigerator.
- Aromatics: Mince your garlic and chilies up to 1 day ahead and store in separate airtight containers in the fridge.
- Chicken: Ground chicken can be prepped, or chicken breasts/thighs can be minced up to 1 day ahead and kept refrigerated.
- Storage (Cooked):
- Once cooked, allow the Pad Krapow Gai to cool completely (within 1 hour) before transferring it to an airtight container.
- Store in the refrigerator for up to 3-4 days.
- If serving with rice, it’s best to store the chicken mixture and rice separately to prevent the rice from becoming overly soft or mushy.
- Reheating:
- Stovetop (Recommended): For best results, heat a wok or large skillet over medium-high heat with a tiny splash of neutral oil. Add the cold Pad Krapow Gai and a tablespoon or two of water or chicken broth. Stir-fry constantly for 3-5 minutes, breaking up any clumps, until heated through and sizzling. This method helps revive the texture.
- Microwave: Place a single serving in a microwave-safe dish. Cover loosely with a lid or damp paper towel to retain moisture. Heat on medium power for 1-2 minutes, stirring halfway through, until hot. Be careful not to overcook, as this can make the chicken dry.
Common mistakes to avoid
Even seasoned cooks can stumble with Pad Krapow Gai if certain fundamental stir-fry principles aren’t followed. Avoiding these common pitfalls will ensure a truly excellent dish.- Not Enough Heat (or Too Many Chilies): Pad Krapow is meant to be spicy! Don’t be shy with the Thai bird’s eye chilies if you enjoy heat. A common mistake is using too few, resulting in a dish that lacks its signature fiery kick. Adjust to your preference, but don’t eliminate entirely.
- Overcrowding the Pan: This is a cardinal sin of stir-frying. If you add too much chicken or vegetables at once, the pan’s temperature drops, and ingredients will steam rather than sear. This leads to watery, bland results instead of beautifully caramelized textures. Cook in batches if necessary, ensuring your wok or skillet is screaming hot before adding anything.
- Using the Wrong Basil: While Thai basil (horapha) is a common and acceptable substitute in the US, using regular Italian sweet basil fundamentally changes the flavor profile. For true authenticity, seek out holy basil (krapow), which has a distinct peppery, clove-like aroma. If only Italian basil is available, it will still be tasty, but not a true Pad Krapow.
- Overcooking the Chicken: Ground chicken cooks very quickly. Overcooking will result in dry, tough, and crumbly meat. Stir-fry just until the chicken is no longer pink, then add the sauce and finish quickly.
- Adding Basil Too Early: Basil is delicate and its flavor diminishes with prolonged cooking. Add the basil leaves right at the very end, after the sauce has thickened and the chicken is cooked. Stir just until the leaves wilt, about 15-30 seconds, then immediately remove from heat. This preserves their vibrant color and fresh, aromatic punch.
")


")

")

")